Install An Agent-less Vulnerability Scanner Using Vuls
Written by
Admin
Admin
Updated on
March 13, 2025
March 13, 2025
vuls is an open-source vulnerability scanner for Linux and FreeBSD, vuls is an agentless on target server, meaning that the target server no need to install agent, it can also assist system administrator and security team in identifiying security vulnerability, one of the advantage of using vuls that it could integrate with CVE Database and Security Advisory like NVD and also it could integrate with ChatOps like Slack or Discord for notifications.
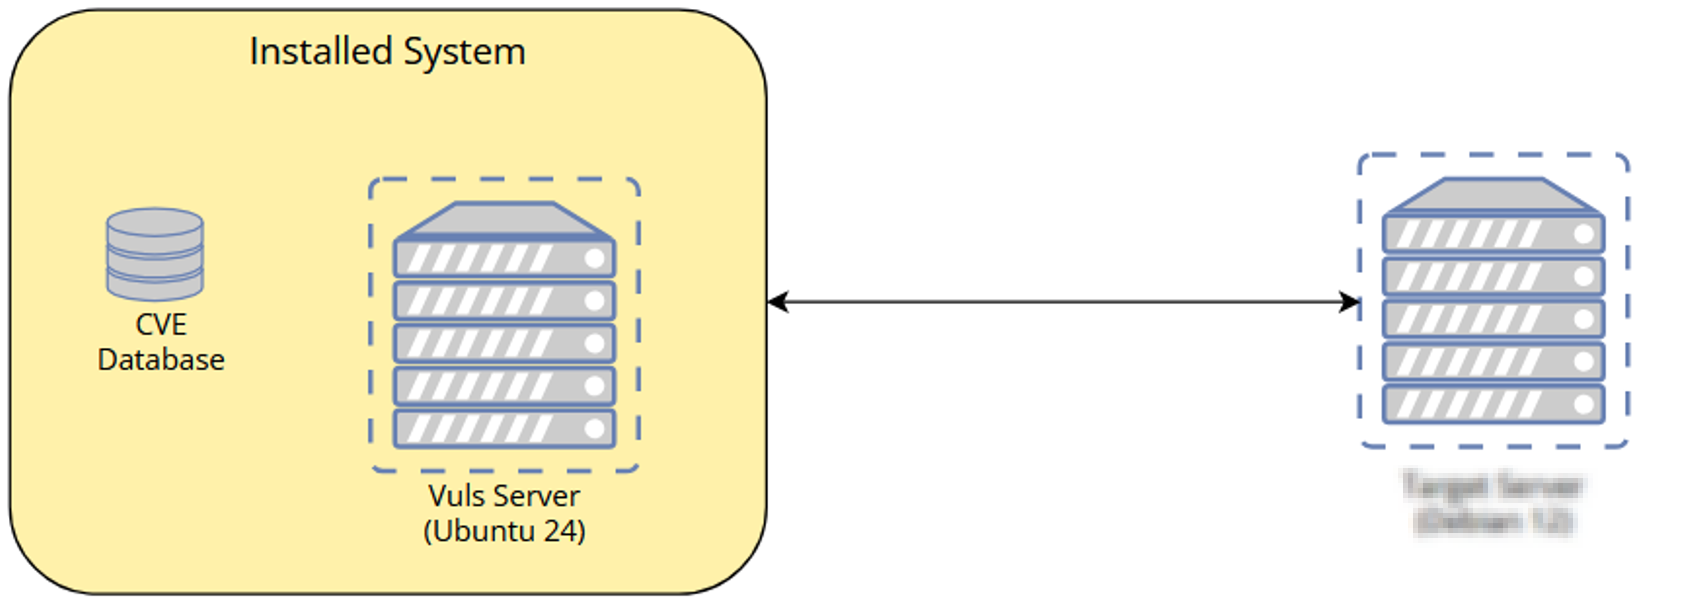
- 2 Servers
- Vuls Server (Debian 12) , Target Server (Could be Ubuntu, Debian, Rocky, etc)
Topologi system
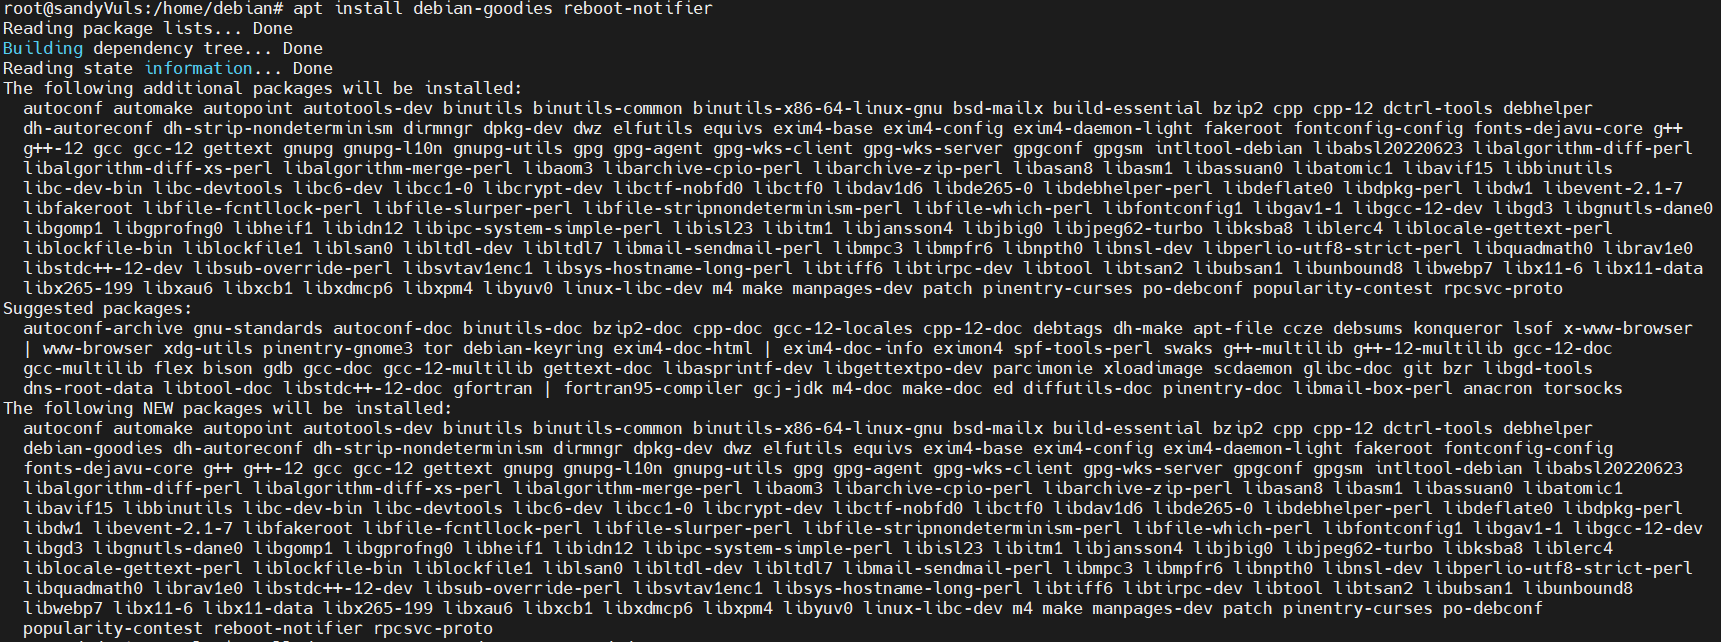
You need to ensure that all the dependencies are installed before installing vuls, you will need debian-goodies and reboot notifier packages
apt update
apt install debian-goodies reboot-notifier
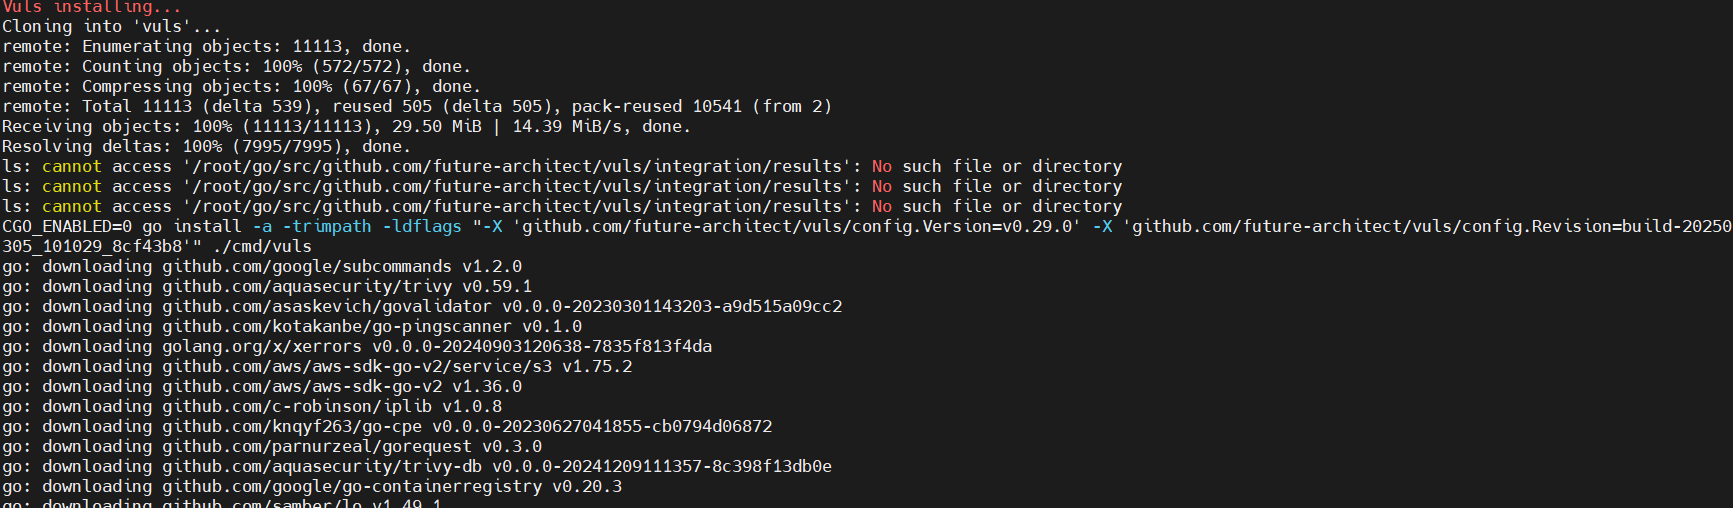
after all the dependencies are installed, you will be installing vuls using script, so it will automatically compile and install vuls, this script that you will execute to install vuls
bash <( curl -s https://raw.githubusercontent.com/vulsio/vulsctl/master/install-host/install.sh )
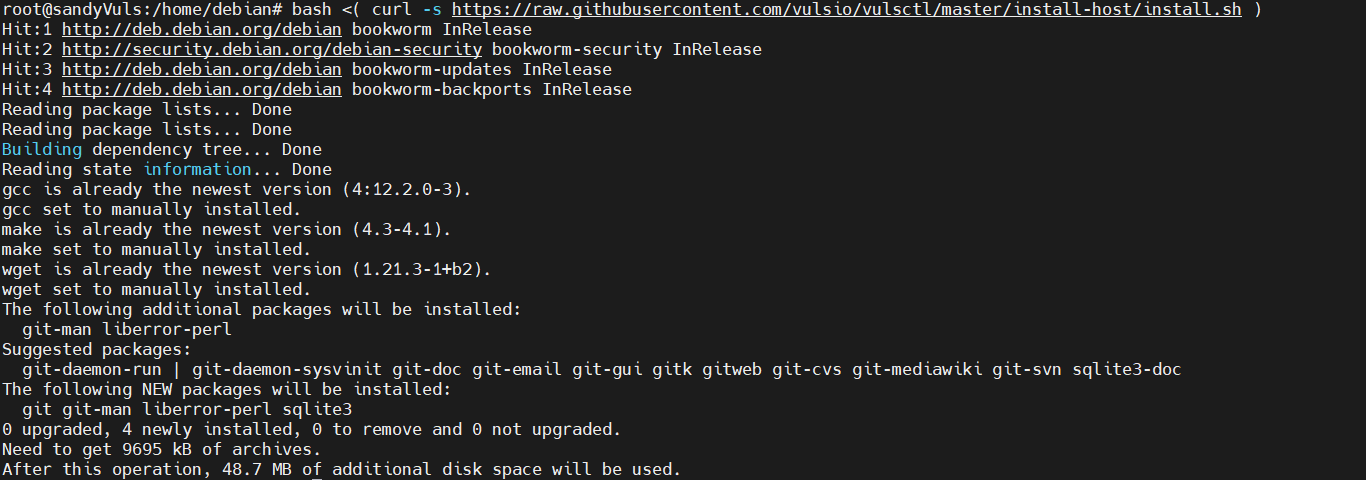
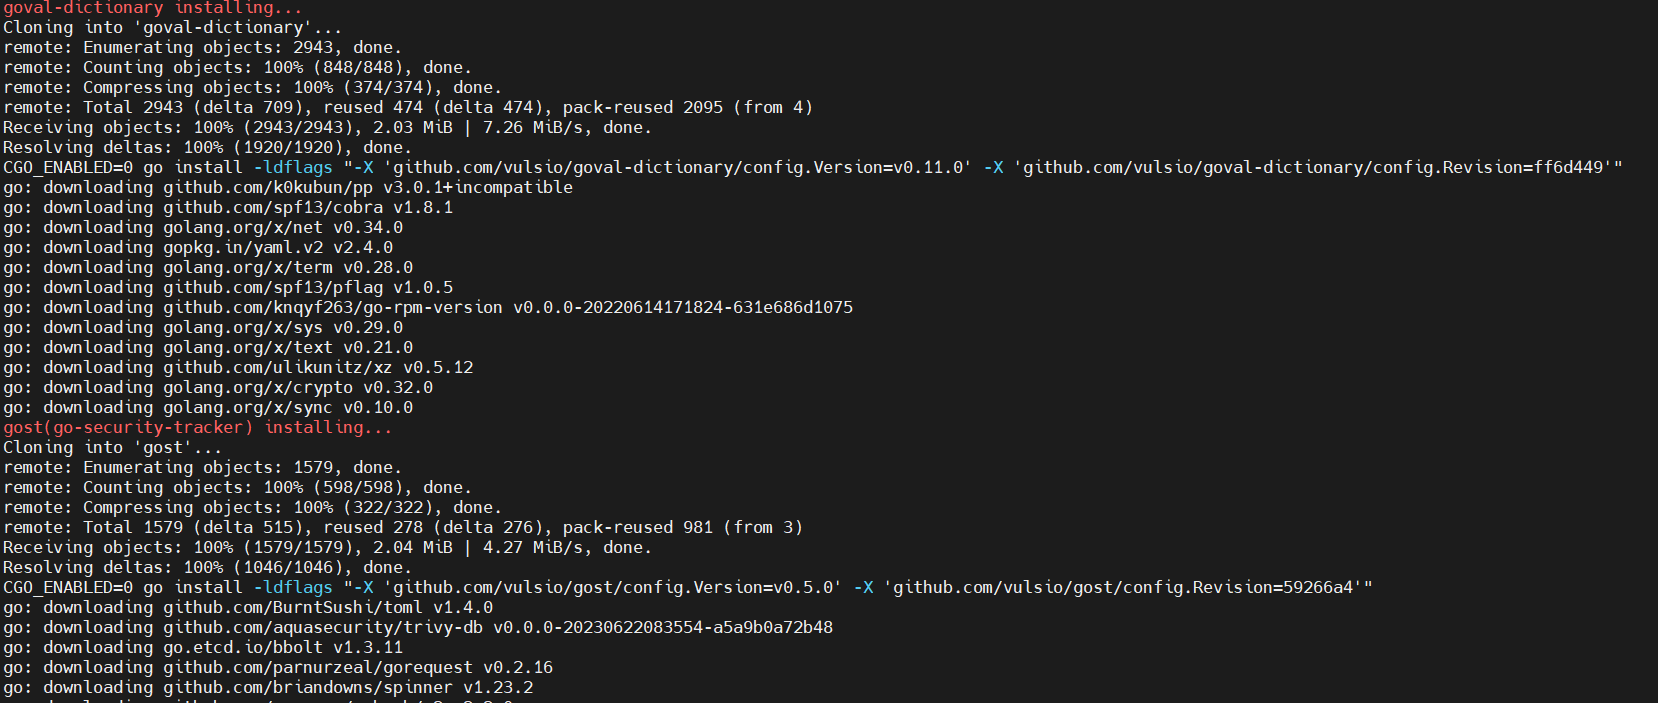
once the the script running, it will install version of golang and then compile and install multiple tools such go-cti, go-cve-dcitionary, go-exploitdb, go-msfdb, goval-dictionary, go-kev and gost


after finish installing, you can check directory /usr/local/bin to see binary file for vuls with its tools
ls /usr/local/bin/
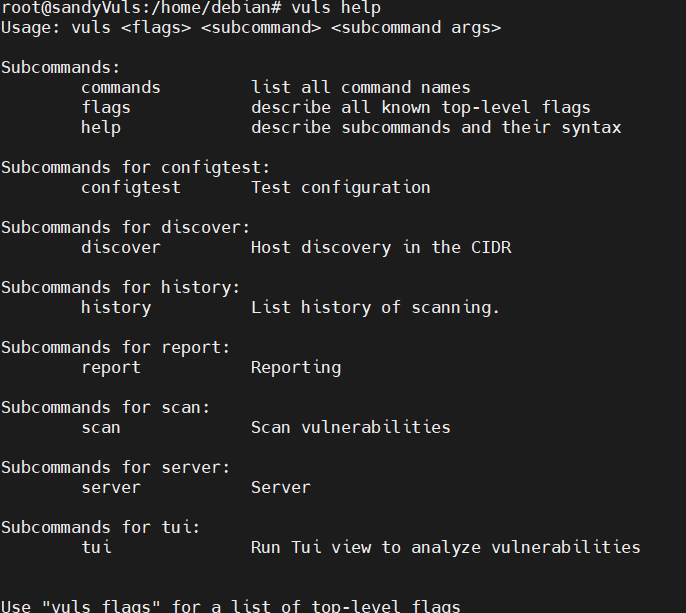
check the help message to see if vuls installed properly
vuls help
With Vuls installed, you need to set up the configuration before scanning. you have to create a directory, define CVE databases in SQLite, and set up the first scan for localhost.
mkdir -p /opt/vuls; cd /opt/vuls
nano config.toml
enter the following configuration to integrate CVE Database with vuls on /opt/vuls/config.toml
[cveDict]
type = "sqlite3"
SQLite3Path = "/opt/vuls/cve.sqlite3"
[ovalDict]
type = "sqlite3"
SQLite3Path = "/opt/vuls/oval.sqlite3"
[gost]
type = "sqlite3"
SQLite3Path = "/opt/vuls/gost.sqlite3"
[metasploit]
type = "sqlite3"
SQLite3Path = "/opt/vuls/go-msfdb.sqlite3"
[servers]
[servers.localhost]
host = "localhost"
port = "local"
scanMode = [ "fast-root" ]
#scanMode = ["fast", "fast-root", "deep", "offline"]
once you done with the config, save and exit file.
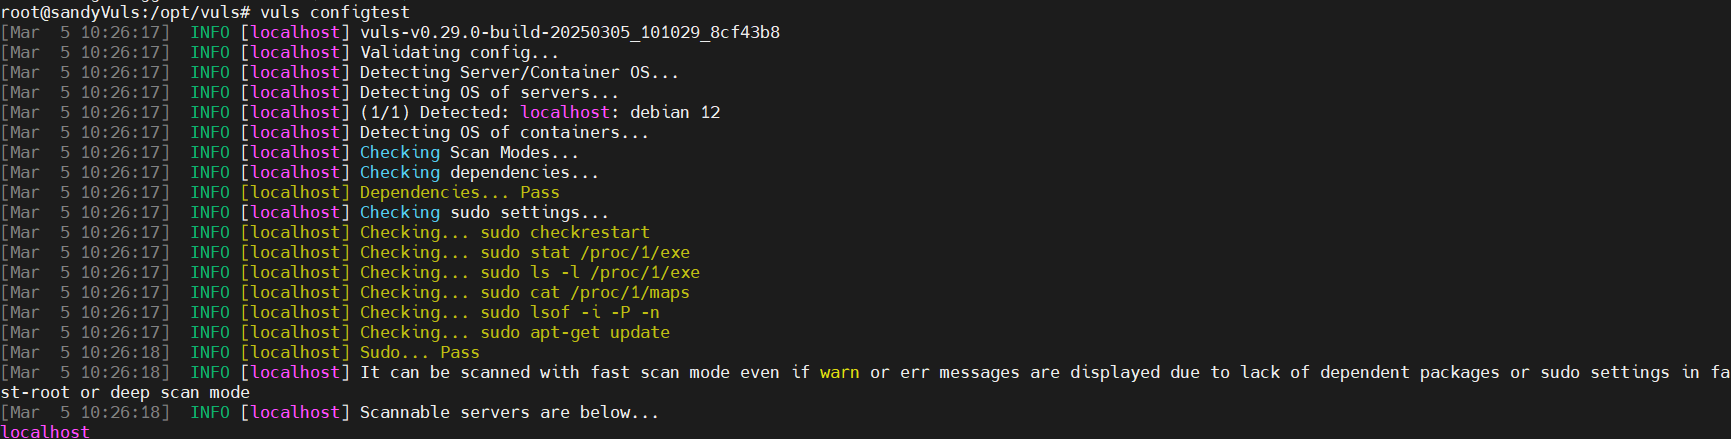
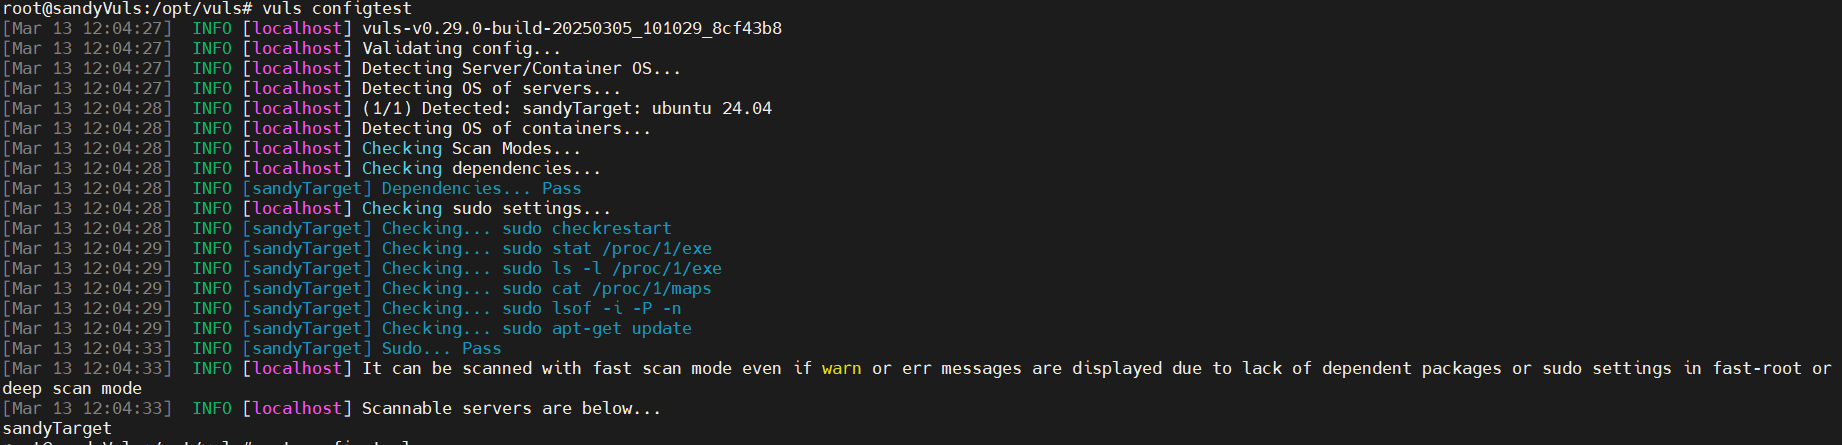
Test the config by run the 'vuls' command below to verify configuration
vuls configtest
the output would be like this
you need to create a CVE databases for debian security tracker, OVAL, NVD, Metasploit databases and building new CVE databases from various sources using vuls tools.
now go to directory /opt/vuls
cd /opt/vuls
then run the command below to download and build CVE Databases
gost fetch debian --dbpath /opt/vuls/gost.sqlite3
go-cve-dictionary fetch nvd --dbpath /opt/vuls/cve.sqlite3
goval-dictionary fetch debian 12 --dbpath /opt/vuls/oval.sqlite3
go-msfdb fetch msfdb --dbpath /opt/vuls/go-msfdb.sqlite3


once you have finished, the CVE databases will be available in /opt/vuls directory, check using this command
ls /opt/vuls/*.sqlite3
Scanning Localhost
after you configured vuls and created CVE Databases, you can now ready to scan localhost with vuls
run this command
vuls scan localhost
if you want to see the complete result in your terminal, you can run this command
vuls tui
this is the output
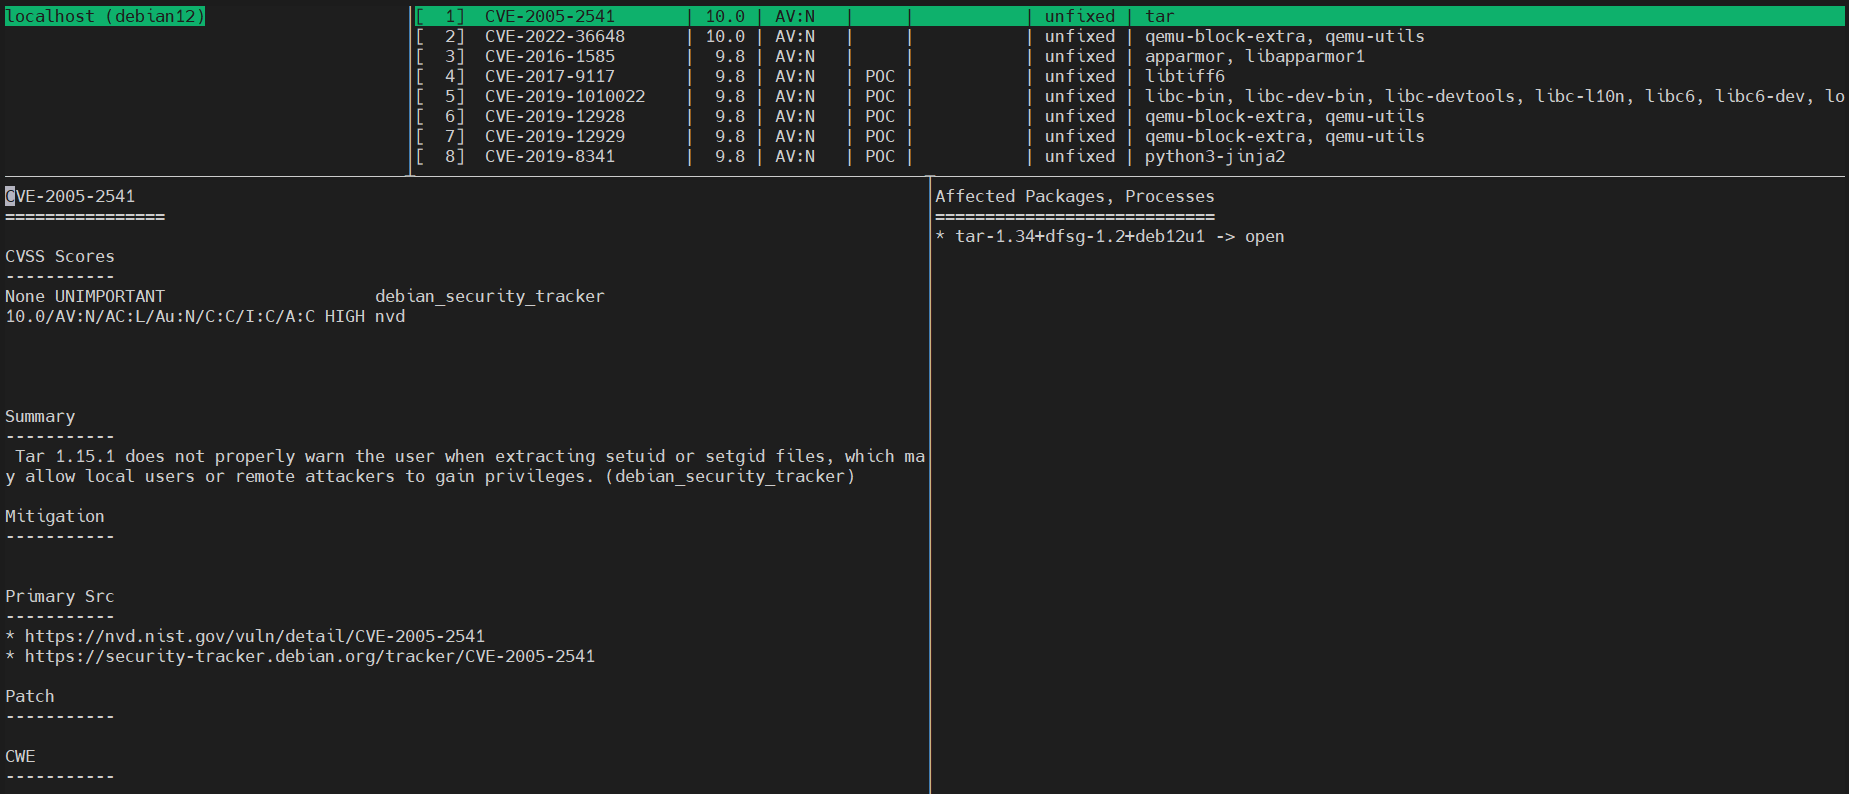
Press ctrl+c to exit from interface
You will be scanning the target via remote with vuls, the Target Server using Ubuntu 24.04 with IP address 192.168.50.25 and user "ubuntu"
run this command to download OVAL CVE Databases for Ubuntu 24.04
goval-dictionary fetch ubuntu 24.04 --dbpath /opt/vuls/oval.sqlite3

now you need to generate new SSH Public and Private key to inject into target server
ssh-keygen -t ed25519
ssh-copy-id ubuntu@192.168.50.25

now go and login to target server and install lsof package, using this command
apt install lsof -y
Now get back to vuls server and go to /opt/vuls and edit config.toml
cd /opt/vuls/
nano config.toml
insert the following configuration to create a scan target to remote ubuntu 24, change the detail IP Address and user
[servers.sandyTarget]
host = "192.168.50.25"
port = "22"
user = "ubuntu"
keyPath = "/root/.ssh/id_ed25519"
scanMode = [ "fast-root" ] # "fast", "fast-root" or "deep"
save the editor and exit
now you can test the config using this command
vuls configtest
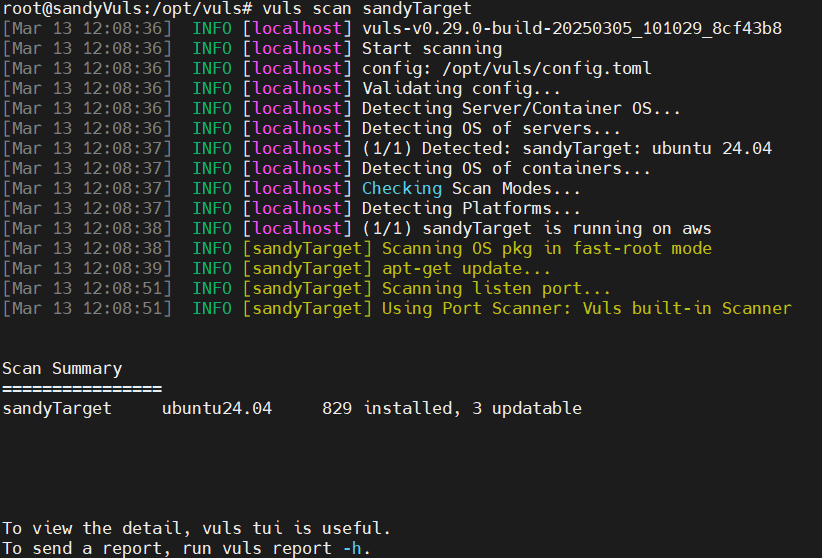
if you got no errors, you can continue to scan the remote server using this command
vuls scan your_target_server_hostname
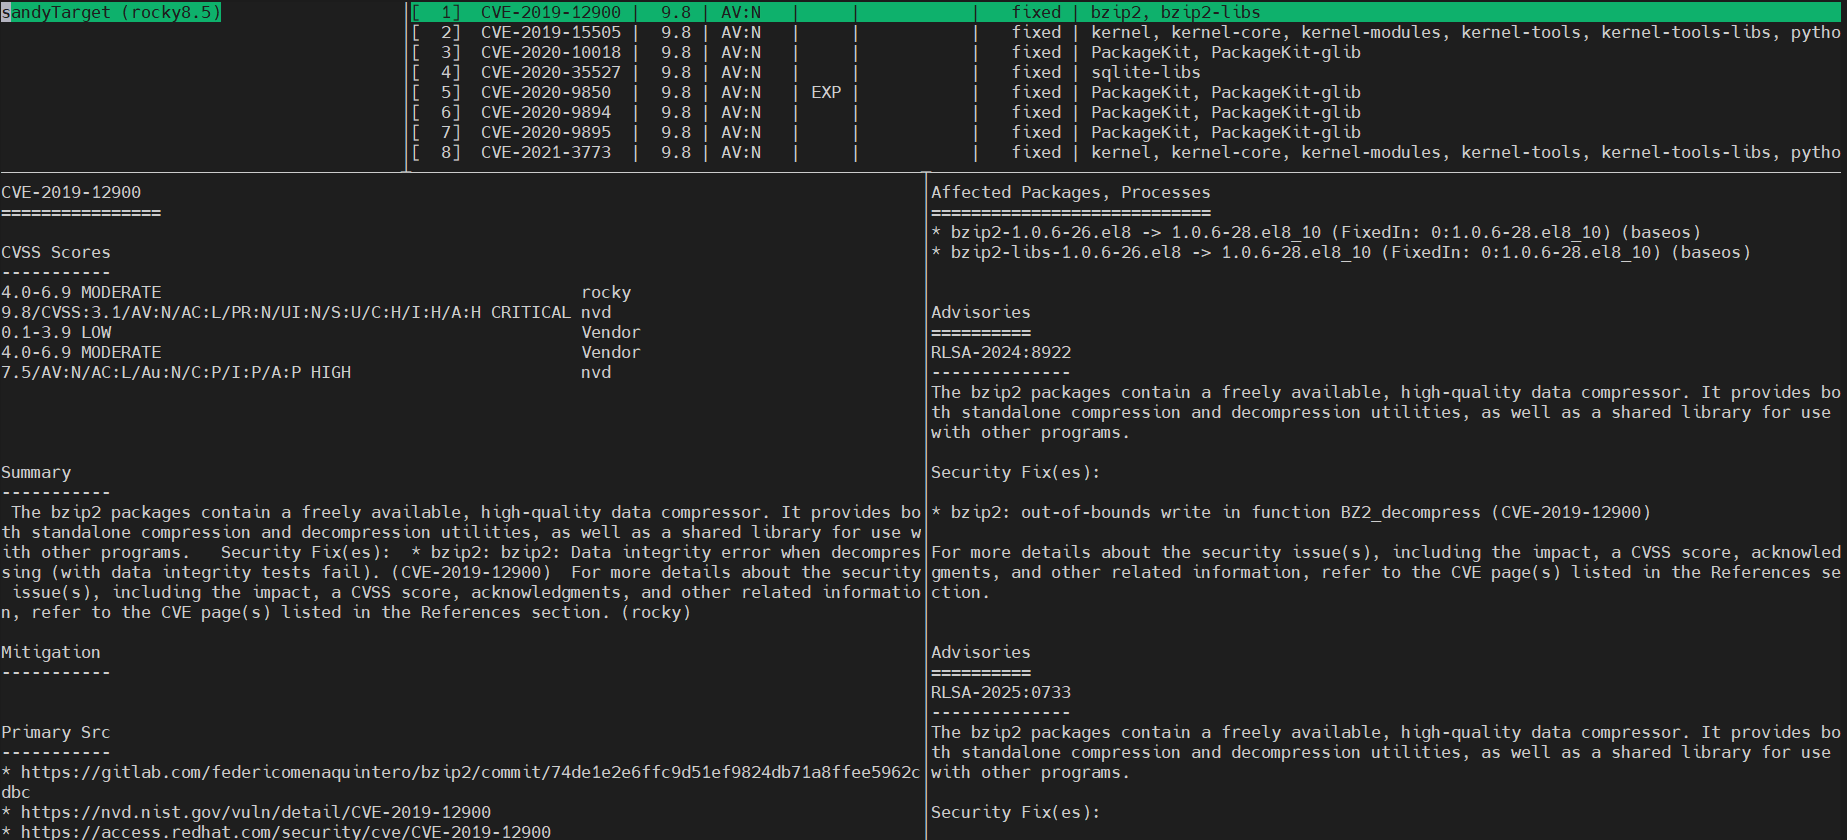
lastly, run this command to view report of the remote scan
vuls tui
Reference : https://vuls.io/